Digital time switches have plenty of benefits. They offer numerous features and customization options, and some even include sensors. You can use them to schedule on and off cycles of any device or appliance that you want. Digital Time switch is widely used in industrial machinery like vibratory finishing machine, sand blasting machine and die casting machines.
So, because of their multiple features, one would expect that they are quite complicated to install. Luckily, that is not the case. With the right tools and this installation guide, you will wire your digital time switch easily — and fast.
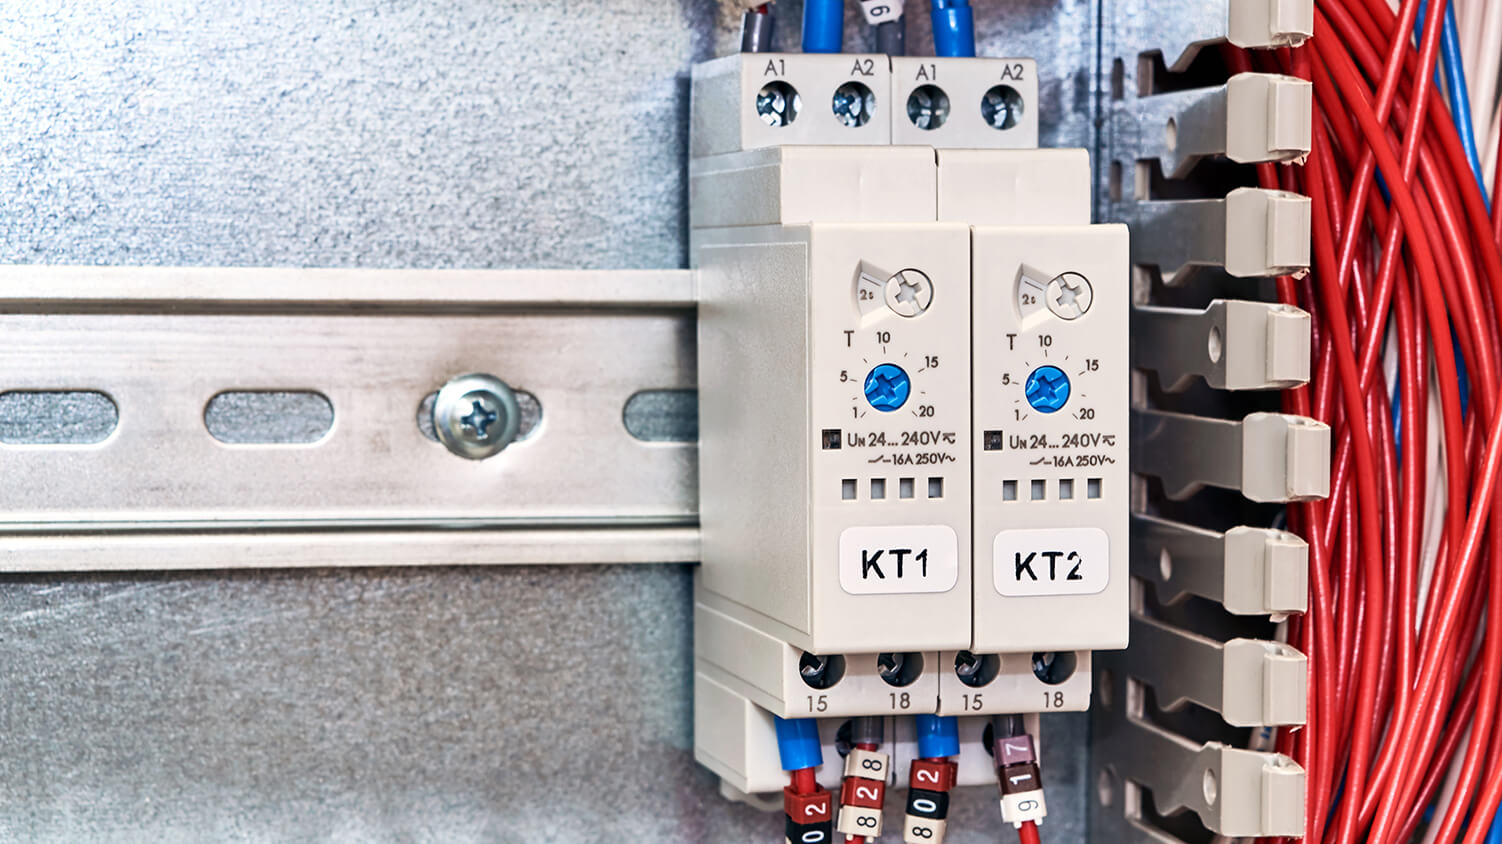
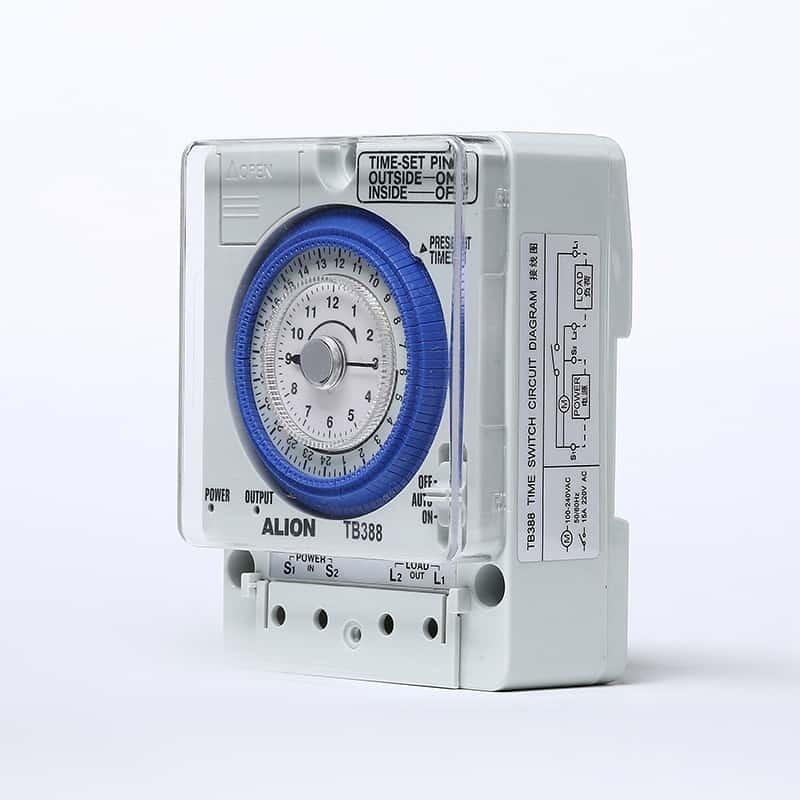
Digital Time Switch Anatomy
A digital time switch can usually fit into a regular wall switch box. Moreover, most models have wire leads that you can directly connect to circuit wires with a wire connector.
Unlike analog time switches, the digital ones don’t have a neutral wire connection. However, there are some differences that depend on the model of the time switch. Some switches have screw terminals that you should connect with the circuit wires. Others have wire leads that should be connected to the circuit wires using wire connectors. In most cases, there are three wire leads:
- Ground lead — green
- LOAD lead — blue
- LINE lead —black
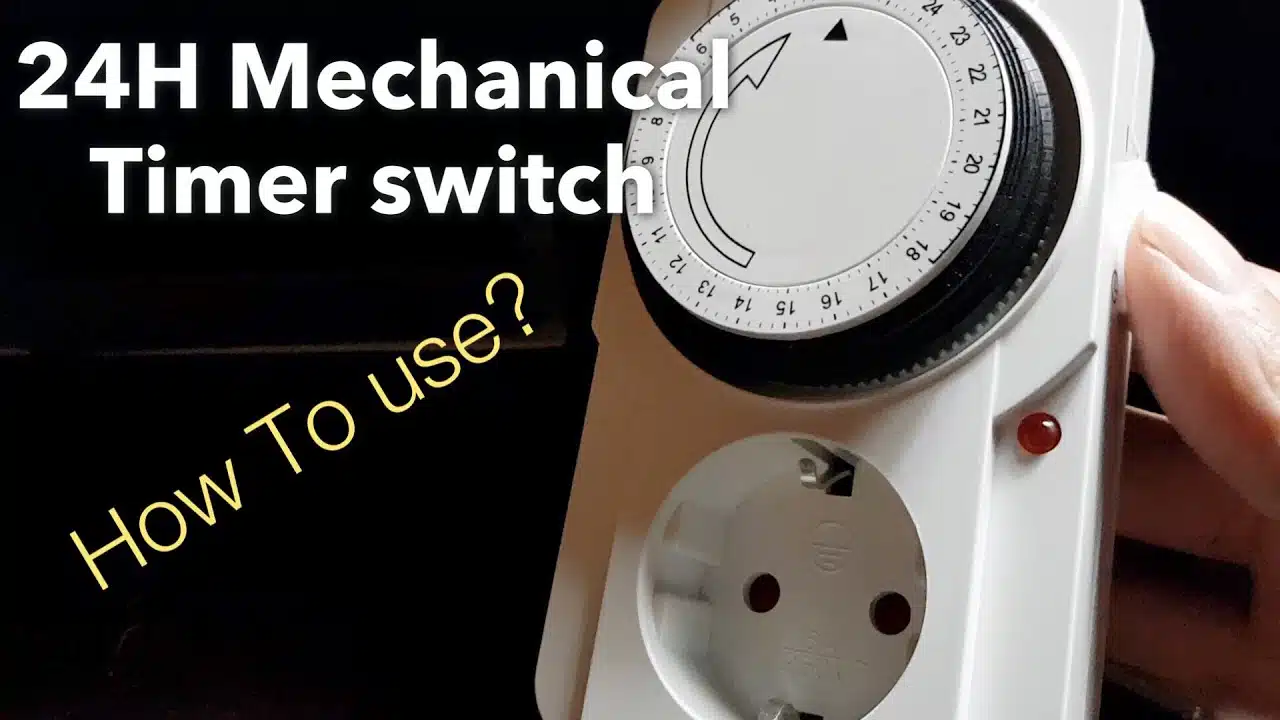
Digital time switches include LED screens, which makes them easy to use. All you need to do is touch the buttons on the screen to set the time of the day. Then, you can program the on/off cycles according to your needs.
How to Install a Digital Time Switch
The good news is that installing a digital time switch is as simple as installing a regular wall switch. Actually, the installation process is similar to wiring a single-pole dimmer switch.
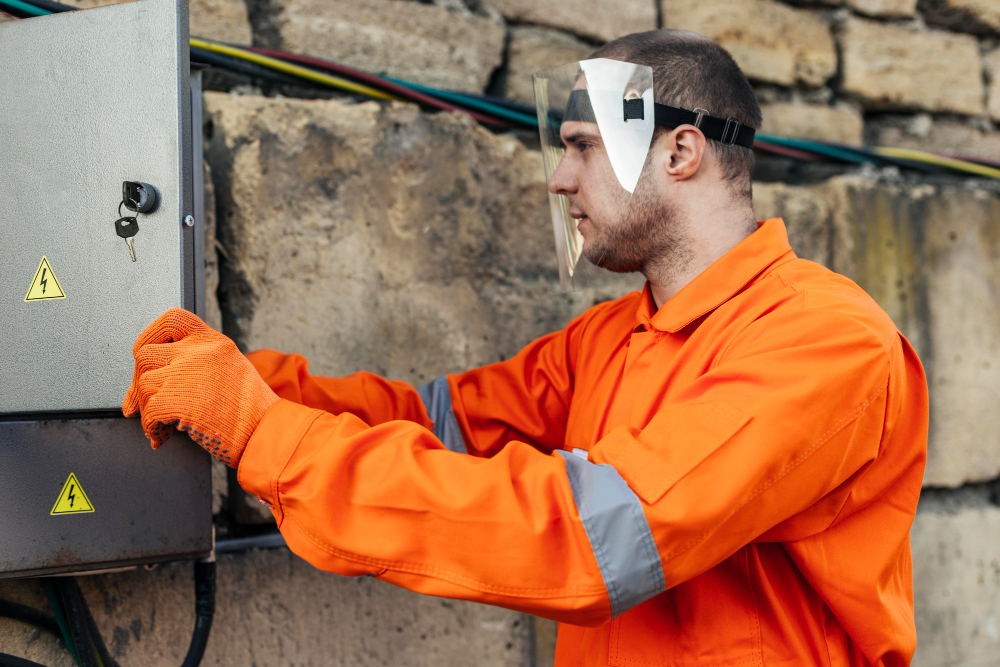
Bear in mind that you must ensure that the circuit which powers the switch box is turned off.
To successfully complete the installation process, you will need the following tools:
- Screwdrivers
- Wire strippers
- Wire connectors
- Pigtail wires
#1 Ground Wires Connection
The first step in the installation process is connecting the ground wires. This process depends on whether your time switch has wire leads or grounding screws.
If your time switch has wire leads, find the circuit grounding wires in the circuit box. Then, use a wire connector to attach the grounding wire on your switch to it. Keep in mind that if the switch has a grounding screw, you will need to use grounding pigtails to connect the switch to the circuit grounding wires.
#2 LINE Wire Connection
The next step is to connect the LINE wire lead — the black one. To do so, use a wire connector to connect the LINE wire on the switch to the hot wire coming from the power source.
However, if your time switch has screw terminals instead of wire leads, you will need to connect the feed circuit wire to the terminal screw.
#3 LOAD Wire Connection
Once you have connected the LINE wire, you should connect the LOAD wire. That is the blue wire lead on your switch. Connect it to the circuit hot wire that leads to the device or appliance that you want to control with the time switch.
#4 The Final Steps
Now that you have connected all the wires, carefully tuck them into the box. Then, push the switch into the wall box. Afterward, attach the mounting straps to the box.
To complete the installation process, attach the cover plate. Finally, program the switch according to your needs, following the manufacturer’s directions.
Conclusion
Now that you have learned all that you need to know about installing a digital time switch, it’s time to give it a go. Follow these simple steps, and you’ll be enjoying the benefits of your time switch in no time.