Are you wondering how to install your brand-new analog time switch? Don’t worry about it. It’s a simple procedure that everyone can do. Here is all that you need to know about the installation process.
Analog Time Switch Anatomy
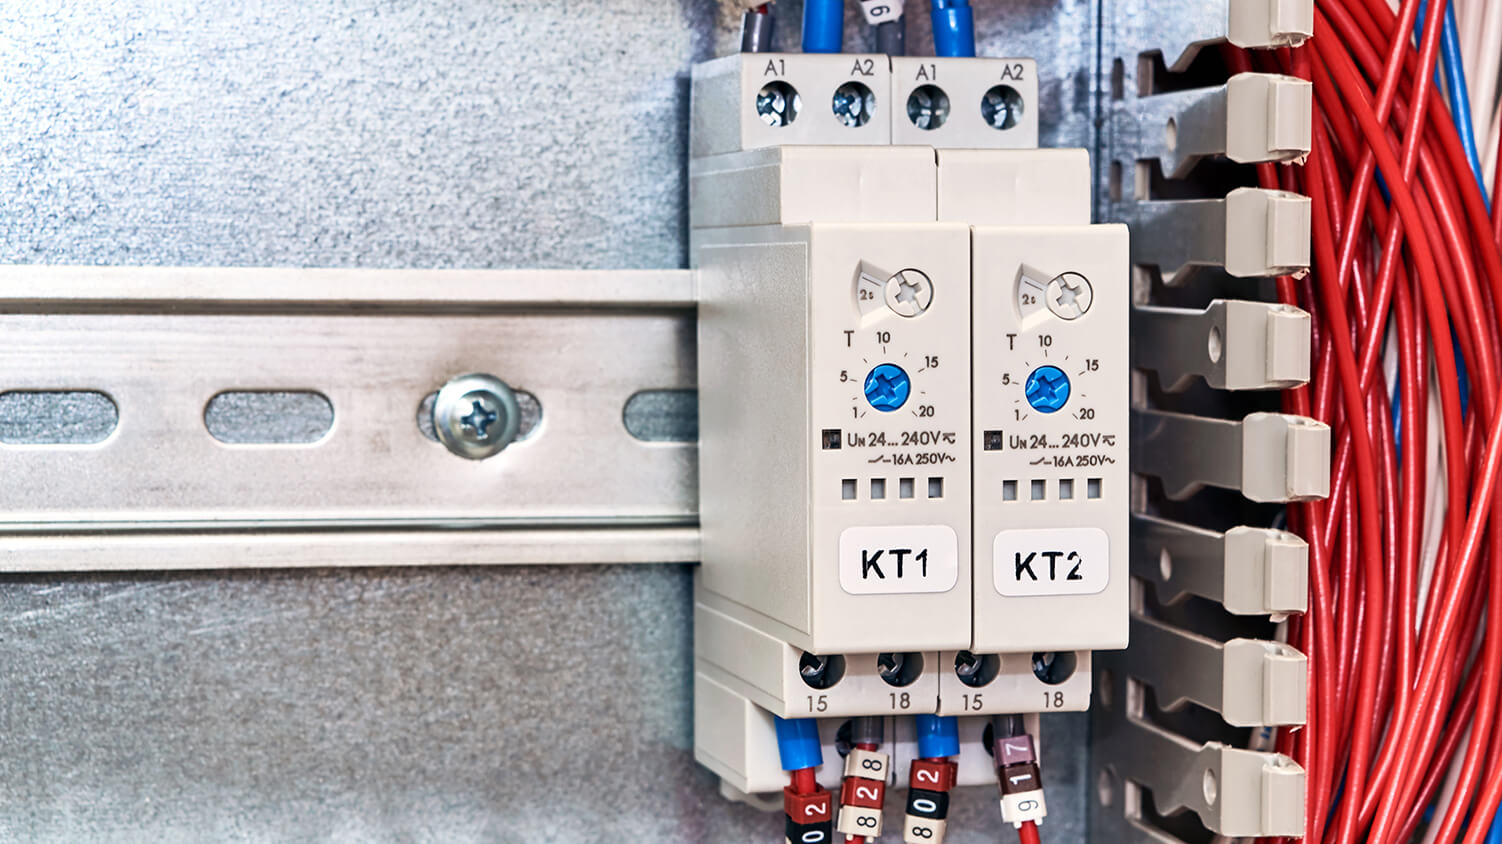
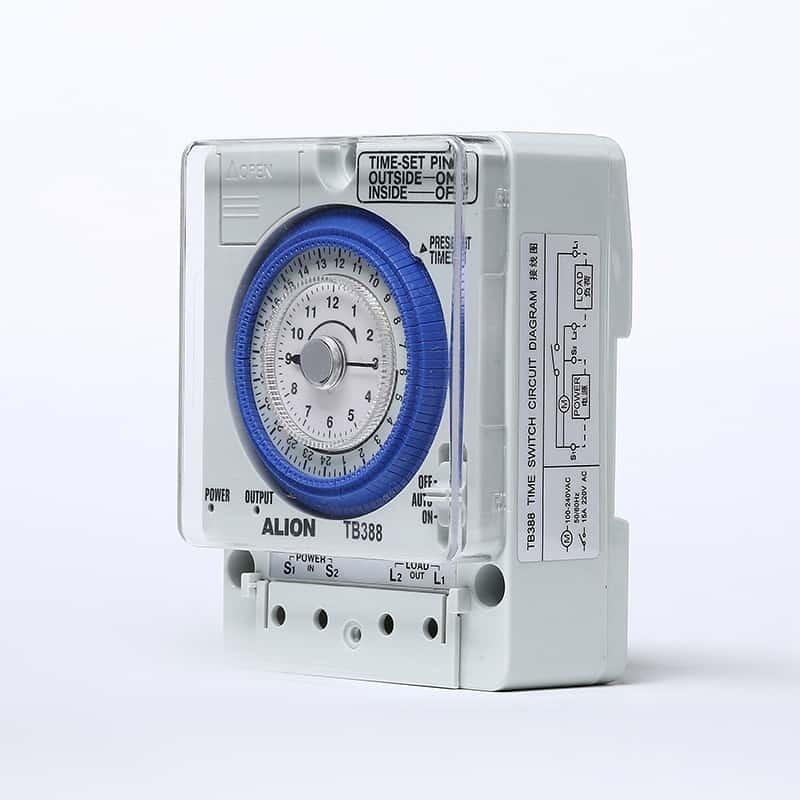
An analog time switch usually looks like a small box. There is a lockable cover, inside of which you will find an instruction label. This label includes the voltage ratings of the device.
Analog time switches are set by turning the timer dial to the desired time. Then, you need to make certain lever adjustments to set the on/off cycles. Once you connect the switch to a power source, the dial will keep time, similarly to a clock.
The switch should be wired into a circuit. Screw terminals on the time switch need to be connected to an incoming electrical cable (LINE). Also, the LOAD terminals are connected to an outgoing power cable.
How to Install an Analog Time Switch
Before you begin with the installation, make sure that the circuit that powers the time switch is off.
Also, you should prepare all the necessary tools for the installation. Here is what you will need:
- Screwdrivers
- Wire strippers
- Wire connectors
- Pigtail wires
#1 Ground Wires Connection
The first step is to connect the ground wires. To do so, attach one end of the grounding pigtail wire to the green ground screw. Next, use a wire connector to join the other end of the pigtail and the circuit ground wires (both incoming and outgoing).
Then, insert the ground wires in the switch box. Moreover, make sure that they are away from the terminal connections. It’s also important that the ground wires can’t touch any connection point. You can achieve this by bending them.
#2 Neutral Wires Connection
The next thing you need to do is to connect the neutral wires. First, cut an 8-inch long insulated wire into a pigtail. Then, take about ½ inch of insulation off from both ends.
Next, put one pigtail end into the neutral screw terminal. Don’t worry, you won’t miss it. The terminal probably has either a label or a silver screw to help you identify it. Then, tighten the screw.
The other pigtail end is supposed to be connected to the incoming and outgoing white circuit wires. Then, join the wires together with a wire connector. This step is similar to the one you did while connecting the ground wire.
#3 LINE Connection
LINE connection is what connects the time switch to the power source. To complete the LINE connection, use a wire stripper to remove ½ inch of insulation off the black wire in the incoming cable. Then, insert the end of the wire into the terminal with a LINE label. Make sure to tighten the screw.
#4 LOAD Connection
LOAD connection connects the time switch with the device or appliance you want to control. To complete this connection, use a wire stripper to remove ½ inch of insulation off the black wire in the outgoing cable. Then, insert the end of the wire into the screw terminal with a LOAD label. Finally, tighten the screw.
Extra tip: If there is any excess wire after you complete the LINE and LOAD connections, you can tuck it into the bottom of the box.
#5 Flash Shield Installation
Time switches include a wire terminal flash shield that serves for safety purposes. To make sure there is no flash when a hot and a neutral or ground wire come in contact, this shield must be set properly. Just put it into the plastic tab. There are usually labels to help you put it in the right position.
#6 Set the Time
The final step is to set the correct time of the day. Then, set the on/off cycle according to your preferences.
Conclusion
Congratulations! Now that you know how to install your analog time switch, you can start with the work. After all, it’s a simple process, and you’ll be able to use your time switch in next to no time.