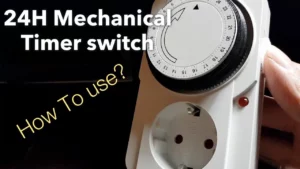
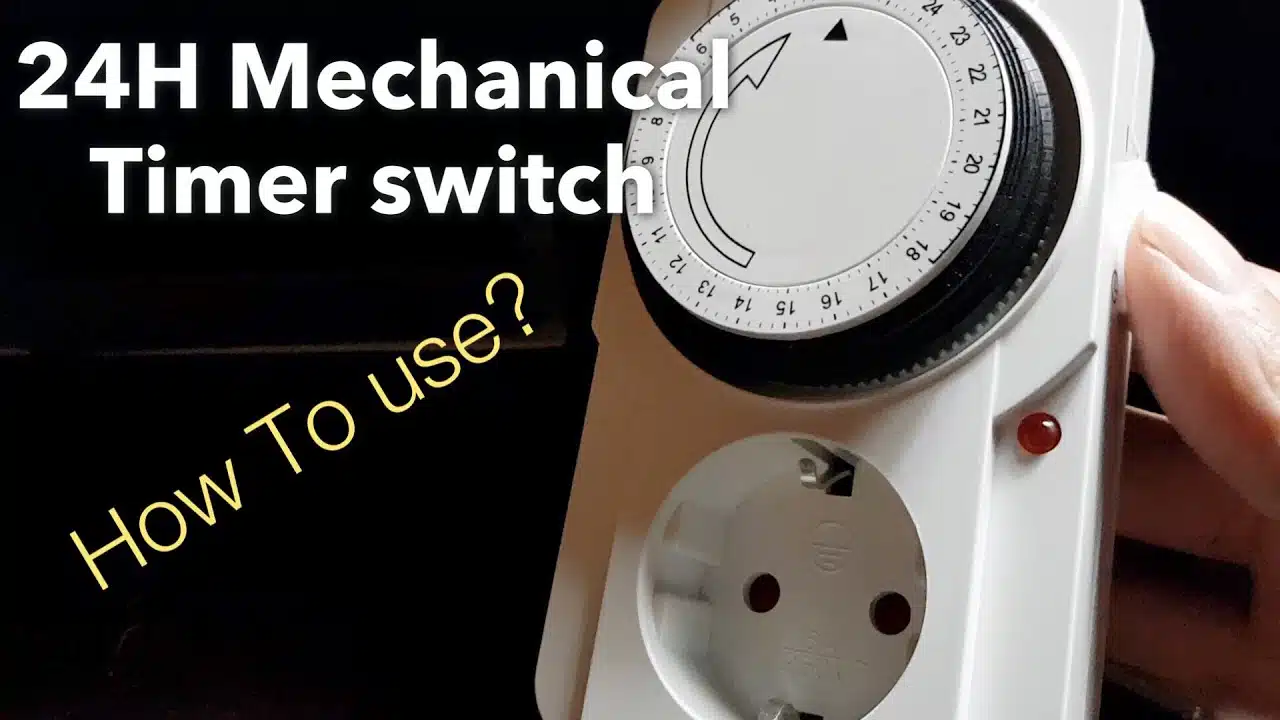
The in-wall timer can turn a standard wall light switch into a programmable timer, with a 7-day custom function, random holiday settings, and battery backup.
I use a timer to control the porch light on the kitchen door so that I won’t find the house dark or turn on the light all night when I go home at night.
1. Features of in-wall programmable timer
Automation function: A wall-mounted timer can be configured to turn on or off lights, fans, water pumps and other appliances that can be controlled by ordinary light switches.
Save energy: By programming the timer to turn on only when needed, you can save energy without thinking or worrying about it.
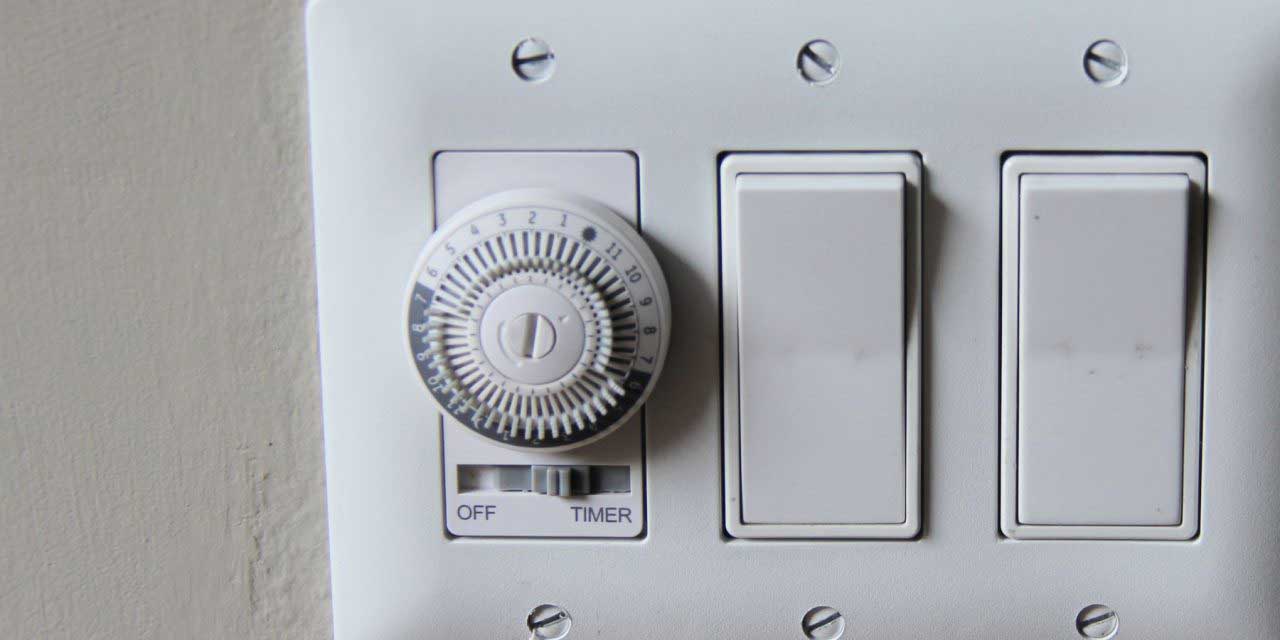
2. Programmable timer interface
Fully programmable: With a 7-day program cycle, you can set the timer according to your schedule. Many also have “random” settings to provide occasional safety lighting when you are out on vacation.
Manual override: Need more light? You can touch the finger to overwrite the setting, and it will return to the program in the next cycle.
Spare Battery: The integrated nickel-cadmium rechargeable battery can prevent your settings from being cleared in the event of a power failure.
Standard size: The in-wall timer is suitable for being placed in an ordinary wall switch box. They come with a cover plate, but can also accept a standard square cover plate.
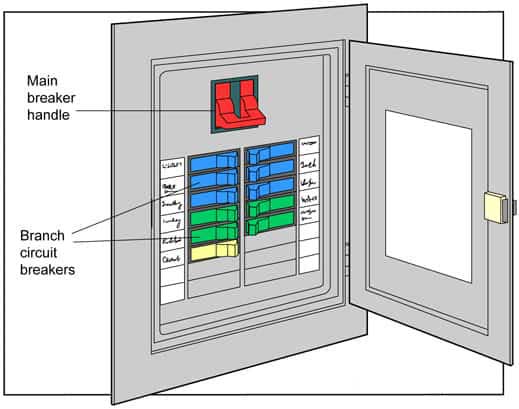
3. Turn off the power to the circuit breaker
- Select the appropriate switch: Make sure that the rated current of the timer is the same as your existing wiring. A 15-amp timer can replace most standard light switches.
- Turn off the power: turn off the circuit breaker or unscrew the fuse that controls the wall switch and lamps.
- Remove the switch cover: Remove the cover and use an electroscope to verify that the power is off.
- Unscrew the existing switch: Remove the screw holding the existing switch and pull it out, leaving the wire.
5. Unscrew the existing switch
1. Check the wiring: Comparing the wiring of your old switch with the instructions for your new switch is a good idea before you disconnect it.
The wiring of the timer should be similar to your old switch, but the wires don’t always match exactly, and once everything is disconnected, it’s easy to get confused. Different types and ages of wiring systems should be covered in the instructions for the new switch.
2. Remove the switch wire: Disconnect the wire of the old switch and remove it.

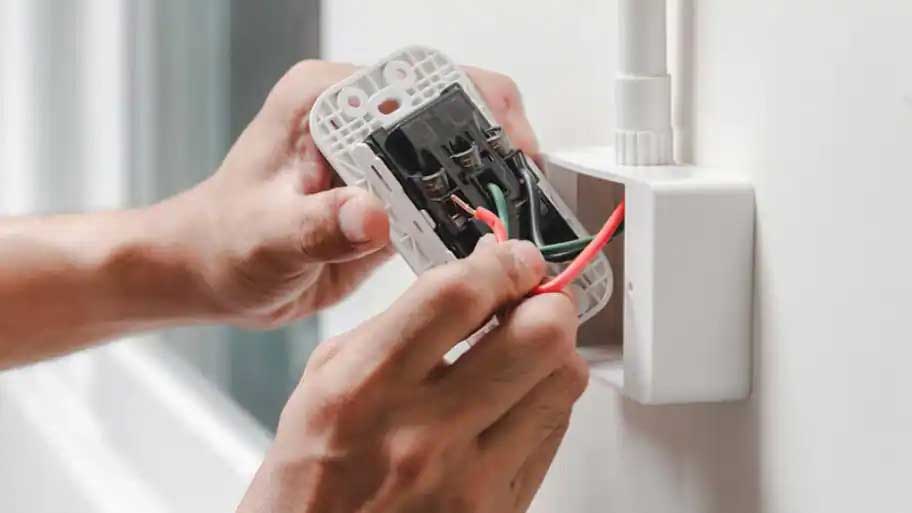
6. Connect the wire to the timer switch
Install the wire for the timer switch: Install the wires to the timer switch according to the attached instructions and wiring diagram. If the ends of the wires are frayed, cut them off and strip the insulation at both ends to facilitate reconnection.
The wire can be directly connected to the switch with a screw, or the switch may have a short tail wire, which is connected to the existing circuit with a wire nut (twist the wires together and turn the wire nut clockwise to tighten). If your house does not have a ground wire, follow the instructions to properly ground the switch.

7. Insert the timer switch into the box
Install the timer switch: Place the wires so that they fit in the electrical box. Push the timer switch into the box so that the flange on the switch is flush with the wall and aligned with the screw holes on the electrical box. If the electrical box is metal, make sure that any exposed switch terminals do not touch the electrical box. Screw the switch to the box with the screws provided. Install the cover and screw it into place.
Turn on the power supply: Turn on the power supply again by opening the circuit breaker or screwing in the fuse.
8. Attach the cover to the timer switch
Test the switch: Turn the timer switch on and off to ensure that it uses manual switch control to work properly. This is usually done by pressing the access panel on the front of the switch.
Program the timer switch: Now, here comes the fun part-programming your timer! Take a magnifying glass (or be prepared to squint), because the buttons and LCD screen are so small that they can be difficult to read. Follow the instructions and set your timer according to your schedule. Start by learning how to set the clock, and then assign settings to each day of the week.