Enhancing the functionality and energy efficiency of your outdoor lighting is a savvy move for both homeowners and businesses alike.
But if you want not only functionality and energy savings but also an additional layer of security, a programmable timer switch is a good solution.
In this step-by-step guide, we’ll walk you through the process of installing a timer switch for outdoor lights.
Step 1: Gather the Necessary Tools and Materials
Make sure you have all the tools and materials before starting the installation. This typically include:
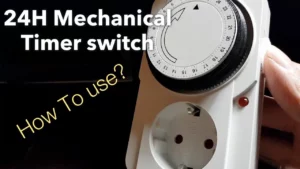
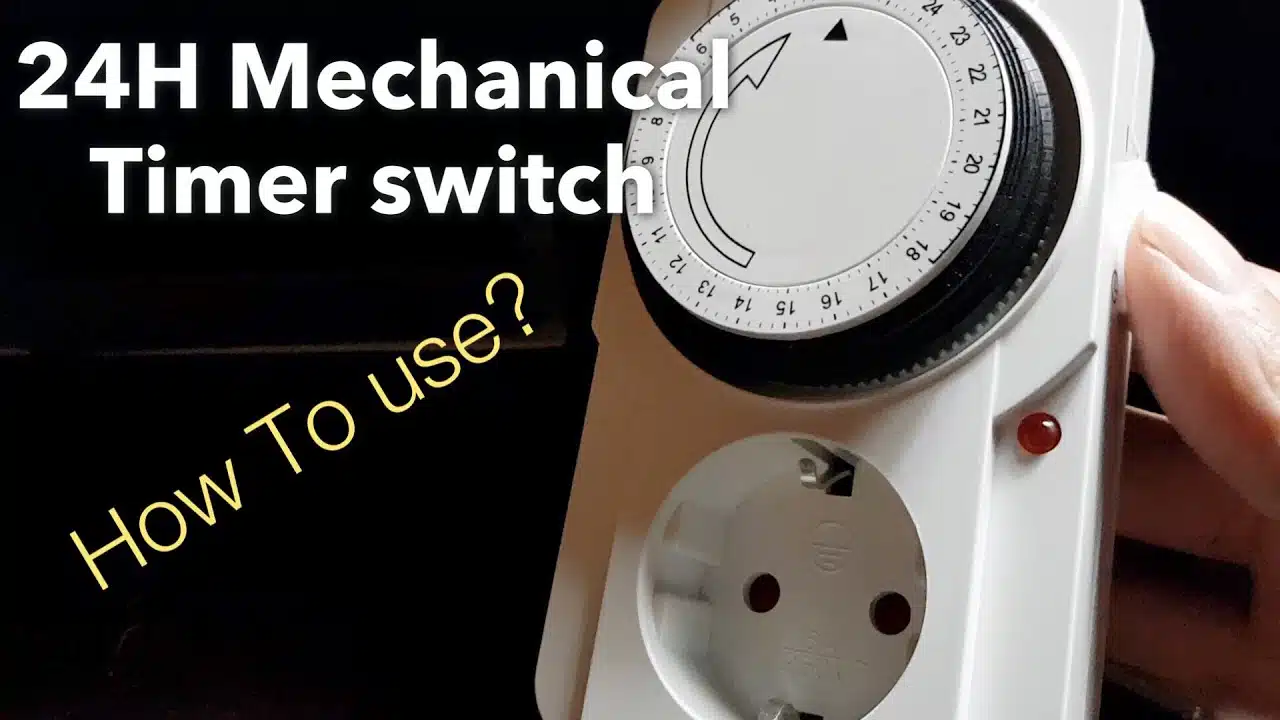
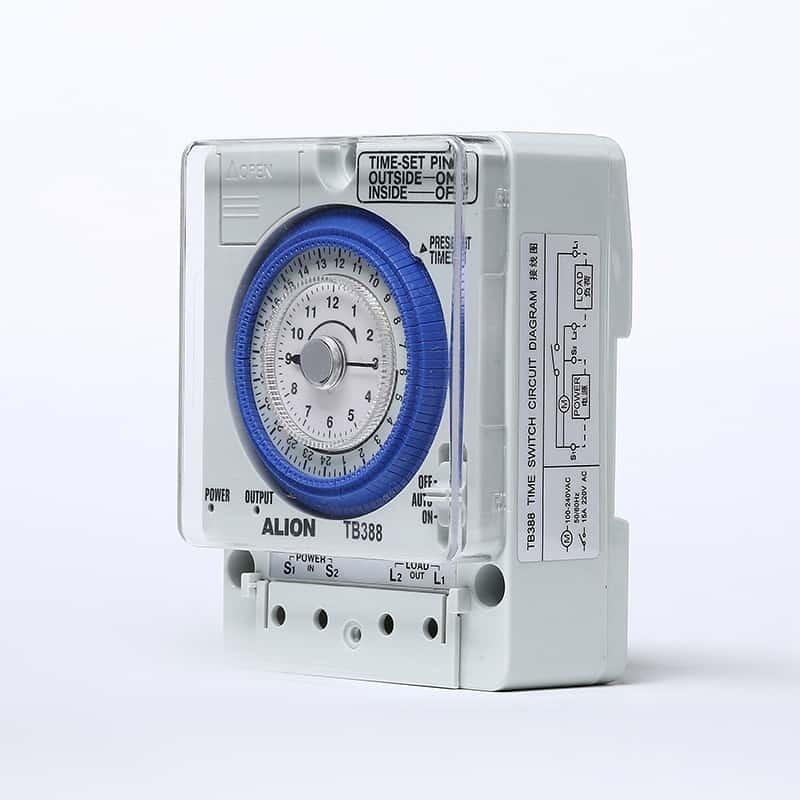
- Programmable timer switch;
- Screwdriver;
- Wire nuts;
- Electrical tape; and
- Voltage tester
Always prioritize safety by turning off the power at the circuit breaker before starting the installation.
Step 2: Identify the Wiring Setup
Use a voltage tester to confirm that the power is turned off. Once verified, remove the existing switch cover and switch from the electrical box. Identify the wiring setup, distinguishing between the load wire (which provides power to the lights) and the line wire (which supplies power to the switch).
Step 3: Disconnect and Remove the Old Switch
Carefully disconnect the wires from the existing switch. Most traditional switches have two wires connected, but some may have additional wires, such as a ground wire. Remove the old switch from the electrical box.
Step 4: Connect the Timer Switch
Connect the load wire and line wire to the corresponding terminals on the timer switch. Most programmable timer switches come with clear labeling, making it easy to identify the correct connections. Secure the wires with wire nuts, ensuring a snug fit.
Step 5: Secure the Timer Switch in the Electrical Box
Gently tuck the connected wires into the electrical box and secure the timer switch in place using the provided screws. Ensure the switch is aligned correctly, and the wires are not pinched or strained.
Step 6: Program the Timer Settings
Follow the manufacturer’s instructions to program the desired settings on your timer switch. This may involve setting specific on and off times, adjusting sensitivity to ambient light, or configuring additional features depending on the model.
Step 7: Test the Installation
Once the timer switch is securely installed and programmed, turn the power back on at the circuit breaker. Test the functionality by manually triggering the switch and observing the outdoor lights. Ensure that the timer settings operate as intended.
Explore Programmable Timer Switches
Congratulations! You have successfully installed a programmable timer switch for outdoor lights, unlocking the convenience and energy efficiency that programmable timers provide.
To explore a variety of programmable timer switches for your outdoor lighting needs, visit our website or download our e-catalog. Take control of your outdoor lighting and enjoy the benefits of automation. Illuminate your space intelligently with Alionmeter.