Choosing the right outdoor light timers depends on your preferences, the level of automation you desire, and the specific needs of your outdoor lighting setup.
Read on as we discuss everything you need to know about outside light timers.
What Are the Different Types of Landscape Lighting Timers?
Landscape light timers help automate when outdoor lights turn on and off.
They come in various types, each with its features and advantages.
Here are some common types for your reference:
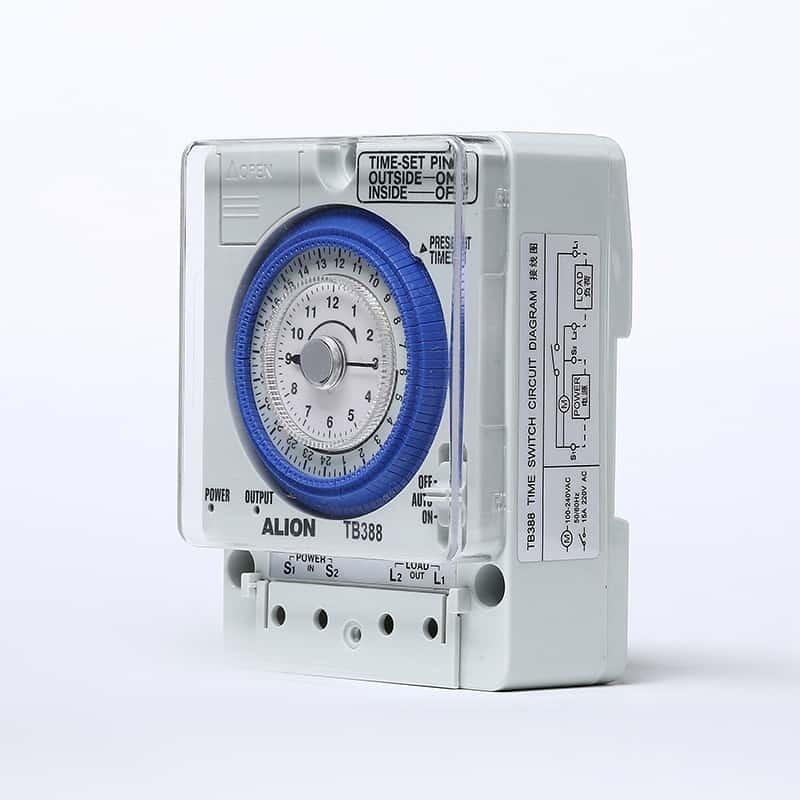
Mechanical Landscape Lighting Timers
Mechanical timers are basic and easy to use. They typically have a dial that you set according to the current time.
You push in or pull out pins on the dial to designate when you want your landscape lights to turn on or off.
Advantages: Simple setup, no programming required, and cost-effective.
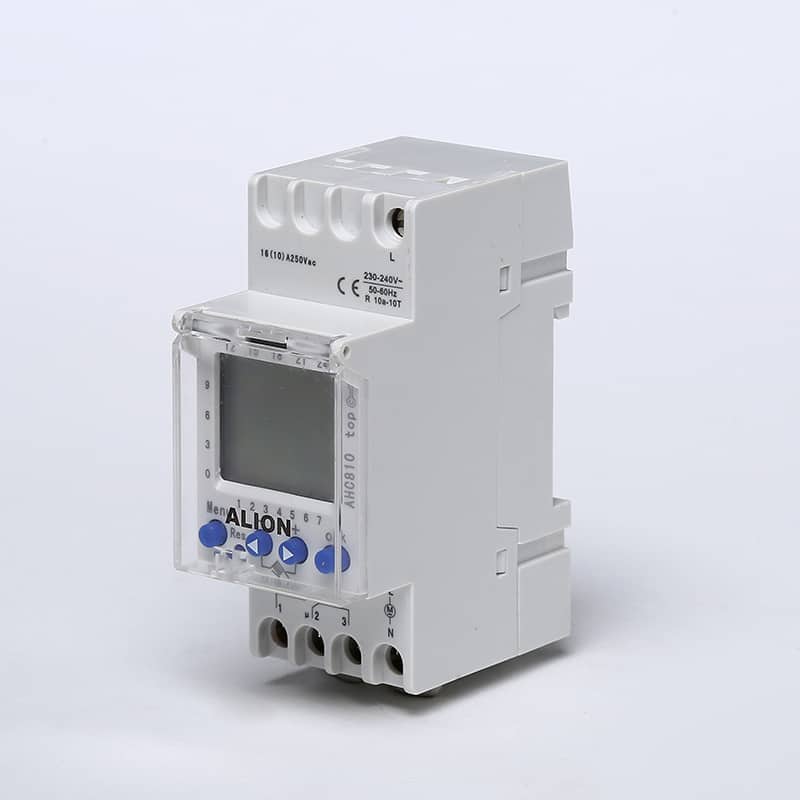
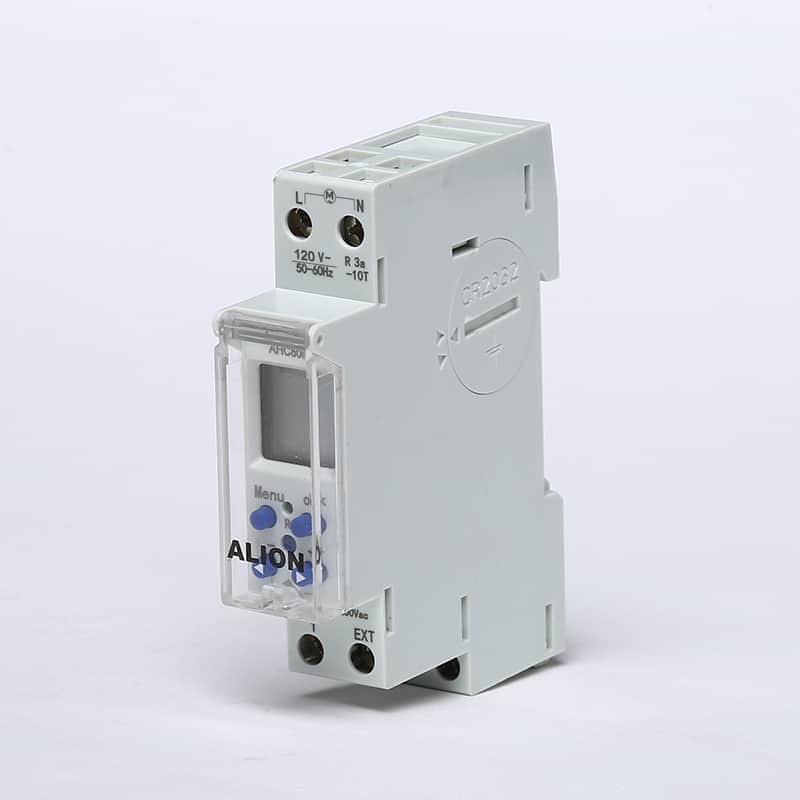
Digital Landscape Lighting Timers
Digital timers have a digital display and buttons for programming. You can set specific on/off times using the built-in clock and programming options.
Some models may have advanced features like randomization to simulate an occupied appearance.
Advantages: Precise control over timing, programmable settings, and potential for additional features.
Smart Landscape Lighting Timers
Smart timers can be connected to your home’s Wi-Fi network and controlled through a smartphone app.
They often offer remote access, allowing you to adjust settings or turn lights on/off from anywhere with an internet connection.
Advantages: Convenient remote control, potential for integration with smart home systems, and advanced scheduling options.
Photocell Landscape Lighting Timers
Photocell timers use a built-in light sensor to detect ambient light levels.
They automatically turn on when it gets dark and off when it gets light, providing a hands-free option for landscape lighting.
Advantages: Automatic adjustment to changing daylight conditions, energy-efficient, and low maintenance.
Motion Sensor Landscape Lighting Timers
Motion sensor timers activate lights when motion is detected.
They include a sensor that can detect movement within a specified range.
After a set period of inactivity, the lights turn off automatically.
Advantages: Enhanced security, energy-efficient (lights only when needed), and can deter intruders.
Dusk-to-Dawn Landscape Lighting Timers
Dusk-to-dawn timers keep lights on from sunset to sunrise, mimicking natural day-night cycles.
They often use photocells to determine when it’s dark enough to turn the lights on and light enough to turn them off.
Advantages: Automatic operation based on natural light conditions, energy-efficient, and suitable for consistent night lighting.
Pros and Cons of Timers for Outdoor Lights
Using a timer for outdoor lights has its advantages and disadvantages.
Let’s break down the pros and cons below:
Pros of Using a Timer for Landscape Lights
Energy-saving
Timers help conserve energy by ensuring that outdoor lights are only on when needed. This can lead to lower electricity bills and is environmentally friendly.
Security Enhancement
Timers create the illusion of an occupied home even when you’re away. This can deter potential intruders by making it seem like someone is present.
Convenience
With timers, you don’t have to manually turn lights on and off every day. It provides a hands-free solution, making it convenient for homeowners.
Customizable Scheduling
Many timers allow you to set specific schedules for when your landscape lights should be on or off. This customization provides flexibility to meet your preferences.
Automation
Timers automate the lighting process, reducing the need for constant monitoring. This is especially useful for busy individuals who may forget to turn the lights on or off.
Variety of Options
There are various types of timers available, from simple mechanical ones to advanced smart timers. This allows you to choose a solution that fits your specific needs and technological comfort level.
Cons of Using a Timer for Landscape Lights
Initial Cost
Some advanced timers, especially smart ones, can be more expensive initially. This cost may be a consideration for those on a tight budget.
Installation Complexity
Depending on the type of timer, installation may require some level of technical know-how. Smart timers, for instance, often involve connecting to Wi-Fi and may need troubleshooting.
Maintenance
Timers, especially in outdoor environments, might require occasional maintenance. This can include checking and replacing batteries, ensuring proper wiring, or addressing any technical issues.
Dependency on Power
Timers typically require a power source. In case of a power outage, some timers may need to be reset, potentially disrupting the lighting schedule.
Incompatibility with Changing Needs
If your outdoor lighting needs change frequently, the set schedule on a timer may become less suitable. For example, seasonal variations in daylight may require adjustments.
Risk of Malfunctions
Like any electronic device, timers can sometimes malfunction. This may lead to lights turning on or off at unexpected times or not functioning as intended.
While landscape light timers offer numerous benefits in terms of energy savings, security, and convenience, it’s essential to weigh these against potential downsides like initial costs, maintenance, and the risk of technical issues.
The choice of a timer should align with your specific preferences, lifestyle, and the characteristics of your outdoor space.
How Do You Set a Timer on Landscape Lights?
Setting a timer on landscape lights can vary depending on the type of timer you have.
Below, we provide general step-by-step instructions for setting timers commonly used for landscape lights:
Mechanical Landscape Light Timer
Step 1: Locate the Dial
Find the dial on the mechanical timer. It usually has 24 hours marked in increments.
Step 2: Set the Current Time
Turn the dial to align with the current time. Ensure that the AM/PM setting is correct.
Step 3: Pin Adjustment
Identify the pins on the dial. Push in the pins for the periods you want the lights to be on and pull them out for the off periods.
Step 4: Test the Settings
Plug in the timer and connect it to your landscape lights. Manually turn the dial to check if the lights respond according to the pin settings.
Digital Landscape Light Timer
Step 1: Power On
Plug in the digital timer and ensure it has power. Some may require batteries or a power source.
Step 2: Set the Time
Use the buttons to set the current time on the digital display. Pay attention to AM/PM settings.
Step 3: Program On/Off Times
Navigate through the menu to find the programming options. Set the specific times you want the landscape lights to turn on and off.
Step 4: Save or Confirm Settings
Some digital timers require you to confirm or save the programmed settings. Follow the instructions to do so.
Step 5: Test the Timer
Connect the timer to your landscape lights and manually initiate a test to ensure the programmed settings are working.
Smart Landscape Light Timer
Step 1: Connect to Wi-Fi
Download the companion app for your smart timer and follow the instructions to connect it to your home’s Wi-Fi network.
Step 2: Set Up Account
Create an account if required and log in to the app.
Step 3: Add Landscape Lights
Add your landscape lights to the app, following the provided instructions.
Step 4: Create Schedule
Use the app’s scheduling or automation features to set when you want the lights to turn on and off.
Step 5: Save and Sync
Save the schedule and ensure it syncs with your smart timer. Check for any additional settings that may enhance your preferences.
Step 6: Test Remotely
Test the settings by using the app to remotely turn the lights on and off.
Photocell Landscape Light Timer
Step 1: Install Properly
Ensure the photocell is installed in a location where it can detect ambient light levels accurately.
Step 2: Connect to Lights
Connect the photocell timer to your landscape lights according to the manufacturer’s instructions.
Step 3: No Manual Adjustment
Photocell timers do not usually require manual programming. They automatically turn on when it gets dark and off when it gets light.
Step 4: Verify Operation
Confirm that the photocell timer is functioning correctly by observing the lights turning on at dusk and off at dawn.
Remember to consult the specific user manual for your timer, as instructions may vary based on the brand and model.
If you encounter any issues, refer to the troubleshooting section of the manual or contact the manufacturer for assistance.
Should I Leave My Outdoor Lighting Timer Switch On All Night?
Leaving landscape lights on all night depends on your goals.
For security and aesthetics, consider using a timer or motion sensor to limit unnecessary energy consumption.
Choose low-intensity lighting and use features like photocells for efficient dusk-to-dawn illumination while minimizing environmental impact and energy costs.
Do Landscape Lights Use a Lot of Electricity?
The electricity consumption of landscape lights depends on factors like bulb wattage, usage duration, and the number of lights.
LED lights are energy-efficient, using less electricity. Timers and sensors can further optimize usage.
Overall, with proper choices, landscape lights can be relatively low in electricity consumption.
Conclusion
Looking for a timer for landscape lights manufacturer?
Look no further. Aliontimer is your reliable choice for an automatic outdoor light timer manufacturer with 25 years of expertise.
The company boasts a track record of supplying digital timers to major brands such as Chint, Perry, Hager, and more, offering competitive pricing, tailored solutions, efficient R&D, prompt delivery, and low MOQ.
Explore their bestsellers like home lighting and street light time switches on their website and request a quotation to kickstart your astronomical clock timer search.


